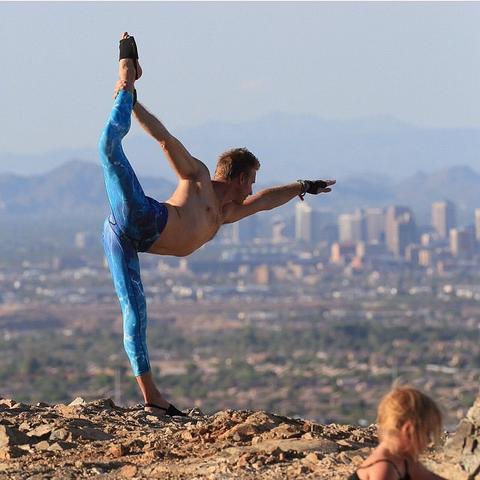
 There are few asanas that students either love or hate as much as inversions. You might be clamoring to get to that part of class or you might dread even thinking about trying to kick your legs over your head. Whatever camp you fall into, looking at the world from a 180-degree rotation is a great learning opportunity, not just in your practice but in your life.
The biggest fear factor many students have about inversions is falling (not surprisingly). But, just like life sometimes does, yoga asks you to conquer your fears to experience the biggest rewards. The benefits of inversions are huge. By reorienting yourself in relation to gravity, your body has the chance to work your cardiovascular, lymphatic, nervous, and endocrine systems in ways that you normally don’t, according to Yoga Journal. That stimulates your body into becoming more efficient, research suggests.
So, if flipping your head to where your feet usually belong is not comfortable for you, remember that you can benefit from inversions with or without modifications. Just lying with your feet up the wall is as much an inversion as a headstand. Every time you fold forward, your brain and circulation receive the benefits of reversing your blood flow. Yoga is not an extreme sport that demands that you leave discernment behind and forget there is a difference between your “edge” and a cliff. You need to silence your ego and look inside to see whether fear is stopping you or whether there is a real mental, physical, or spiritual reason a pose simply does not work for you at this time.
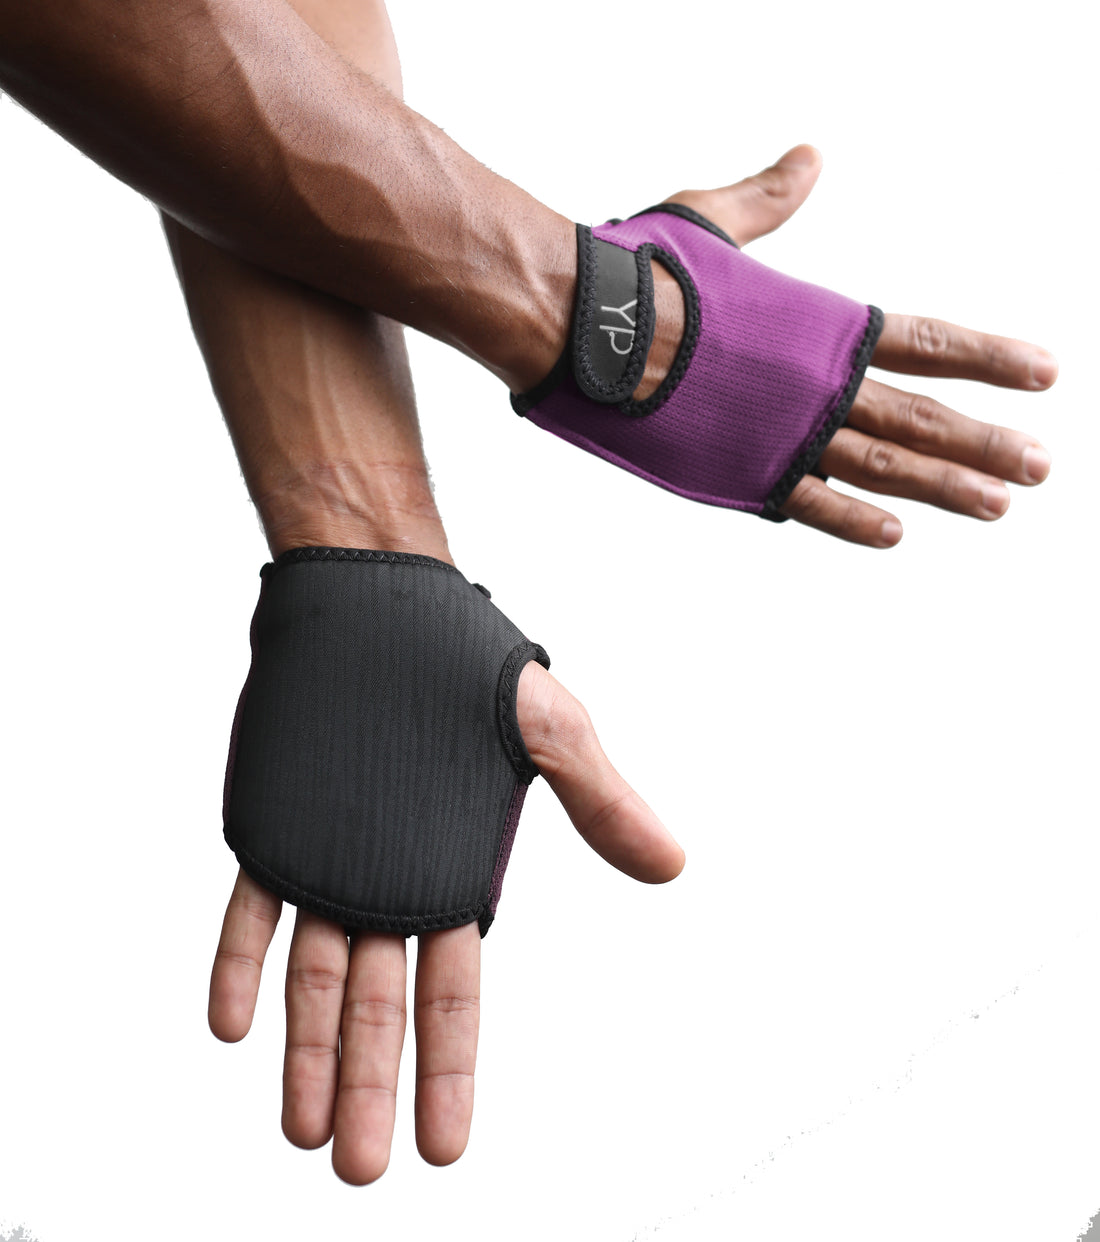
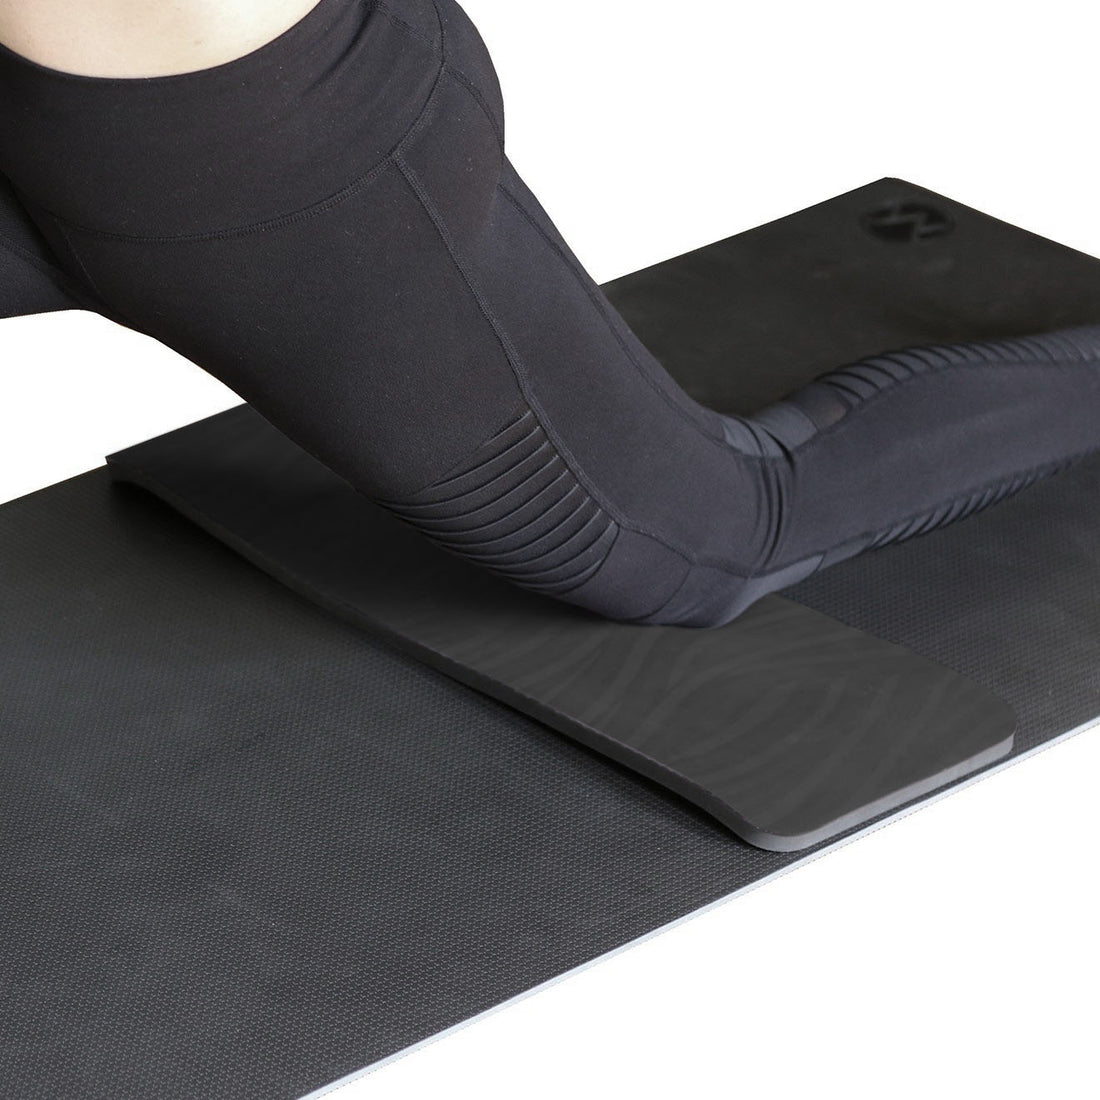
And, don’t think that using props or supports means you’re “not strong.” All of the tools that complement your yoga practice are simply extensions of your body. They work in unison with your physical body to enable you to achieve poses your body alone can’t access. Think of them as friends. Starting into the more difficult poses with the support of a wall might help you feel more secure. Or ask if your studio has a headstand bench — a heavy stand with padding for the neck and shoulders which enables some students to rise into headstand more comfortably. Keep in mind that you don’t have to hold these poses for long. A few breath cycles when you are starting out is fine.
Here are some poses to turn your world upside down:

|
Adho Mukha Svanasana (Downward-Facing Dog Pose) |
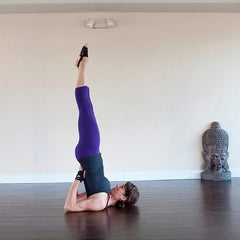 |
Salamba Sarvangasana (Supported Shoulderstand) |
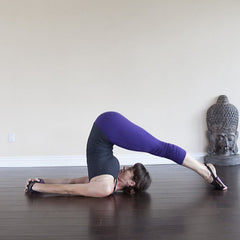 |
Halasana (Plow Pose) |
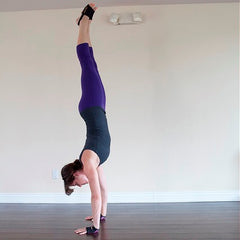 |
Adho Mukha Vrkasana (Handstand) Benefits: Using the wall as a support in this pose allows you to experience the feeling of being fully inverted without worrying about falling backward. How to do it: Start in Adho Mukha Svanasana with your finger a few inches away from the wall. Firm your shoulder blades and pull them down toward your pelvis. Then, bend your right leg and bring it closer to the wall. Continue to lengthen your left leg. Then, push your right foot off the floor while sweeping your left leg up. If this is as far as you can go, that’s fine. If you feel like trying for the full pose, kick up and bring your heels to the wall. Stay there for 10 to 15 seconds, slowly working your way up to one minute, then release. |
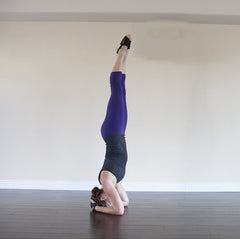 |
Salamba Sirsasana (Supported Headstand) Benefits: Using your arms to support your head in this pose helps you feel more secure. How to do it: Fold blankets or a sticky mat firmly. Kneel on the floor. Place your elbows shoulder width on the mat or blanket and clasp your fingers together. Push your inner wrists toward the floor. Place the crown of your head on the floor and press the back of your head into your hands. Inhale and straighten your knees so that you are in a V shape. On an exhale, push both feet off the floor (you can bend or stretch your knees). As they come up, your knees and feet should align over your hips. Stretch your legs if they are bent. Remain in the pose for 10 seconds if you are new to it, adding on five to 10 seconds every time you practice until you can stay for three minutes. |
As you practice, listen to your body. Some of these poses are challenging and if you feel a sense of unusual pressure in your head or your eyes are bloodshot, come out of the pose and scale back your inversion practice. Even if you have a regular home practice, try to get a teacher’s guidance when you start practicing more advanced inversions to ensure that you are working correctly and safely. Don’t feel pressured into trying the most advanced inversions. Listen to your inner wisdom. You don’t have to do a perfect handstand to have a beautiful practice that serves you best. In fact, that kind of striving for something that doesn’t feel good or authentic to you is the opposite of the liberation yoga makes possible. So go and have fun in your body and seek out some new points of view.


