The end of summer means the beginning of the school year. Whether you, your kids or your friends are off to learn something new in an academic setting, it’s a time that invites you to think about mastering new skills and improving the ones you already have.
Bringing a spirit of inquiry and eagerness for new information to your practice can not only help you with physical issues with difficult poses, but it can give you tools to continue enriching your practice.
If that sounds intimidating, just think about mastering an academic skill. You have a teacher, a textbook and a class to attend. Yoga is no different. Whether you take yoga classes or practice at home, you have those same ingredients, with one modification your body is your workbook. Each time you move through a class, you are learning about yourself and how to use the tools at your disposal—bones, muscles, and tendons—to achieve your goals.
When you reach for a balance pose, do your homework. If you are falling forward, lean back. If you are stretching, think about what feels tight and might need some extra releasing before or after class. When you’re relying on your body to support you, notice any weak points and use that to inform your next practice.
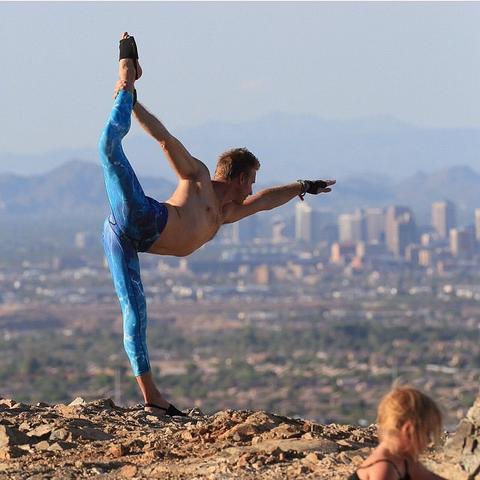
Here are some poses for you to use as a study guide:
|
|
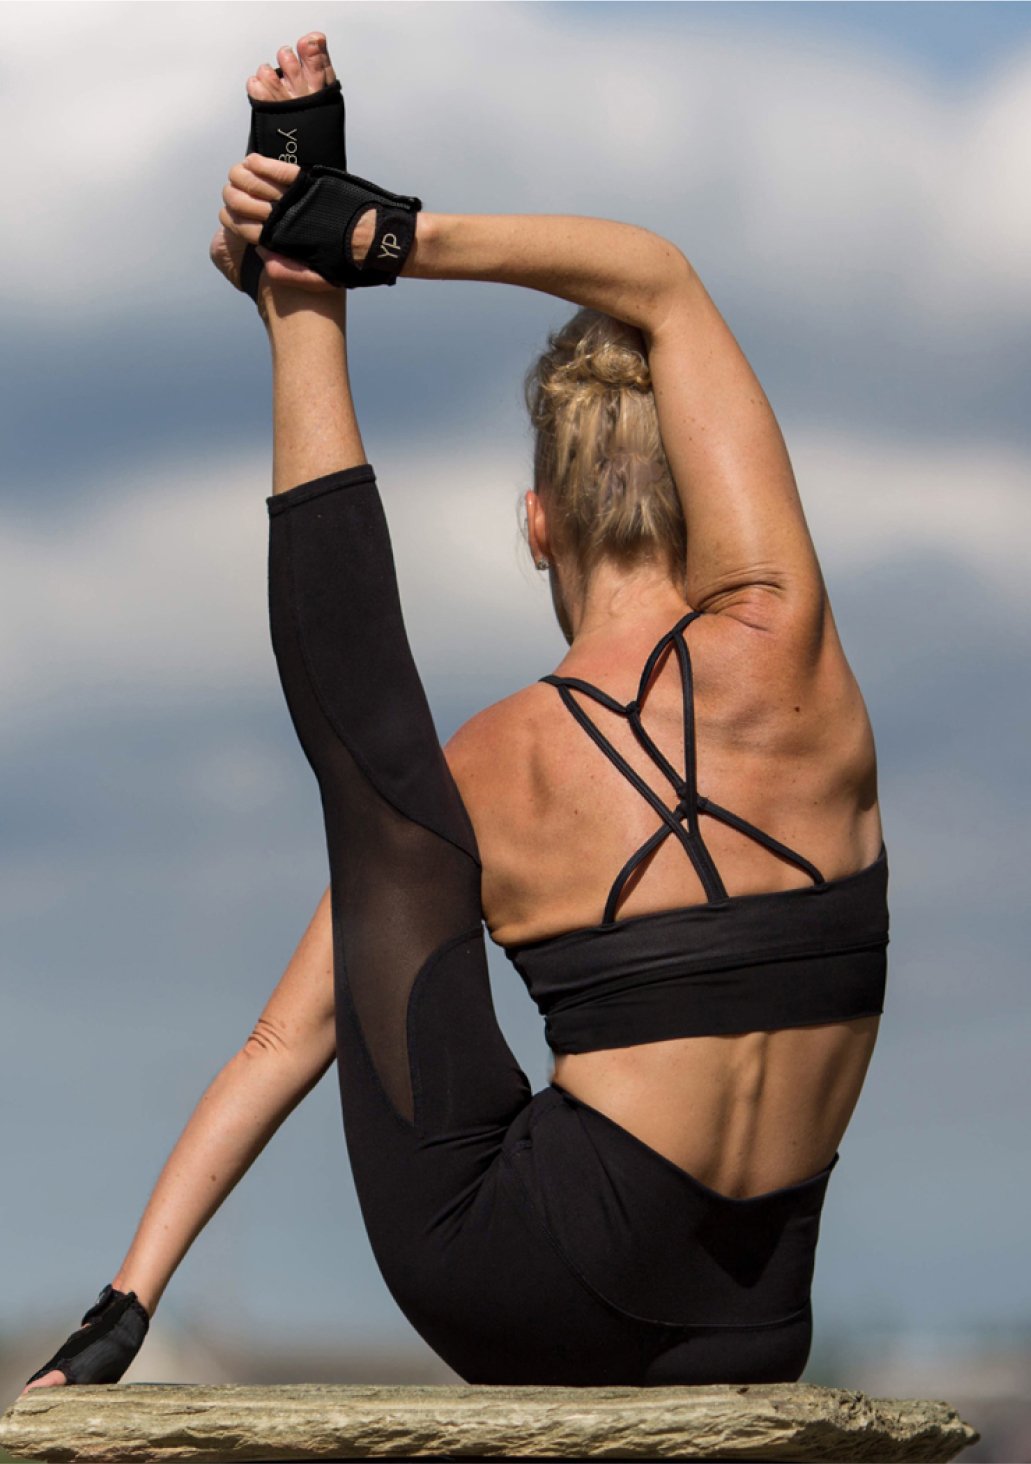
Urdhva Dhanurasana (Wheel Pose)—Variation Benefits: This deep backbend is a literal metaphor for your evolving practice as you raise one leg. How to do it: Begin on your back. Bend your knees to get your feet as close to your hips as possible and place your hands next to your head with your fingers pointing toward your feet. On an exhale, lift your hips off the mat and engage your buttocks. Stay there for two or three breaths before coming up with the crown of your head on the floor. Hold that for two or three breaths, then come into the full pose by straightening your arms. Shift your weight onto your left leg. On an inhale bend your right knee in and extend it off the floor. Hold for five to ten seconds, then repeat on the other side. Release by bending your arms and letting your head come to rest on the mat, then rolling through your back to return to the mat. |
 |
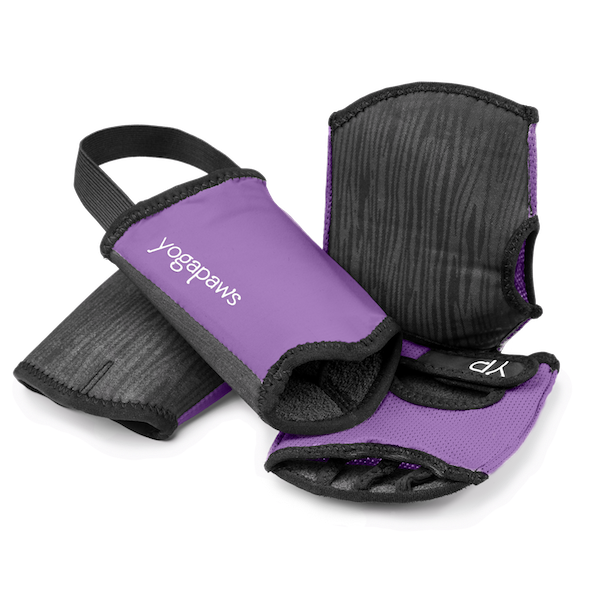
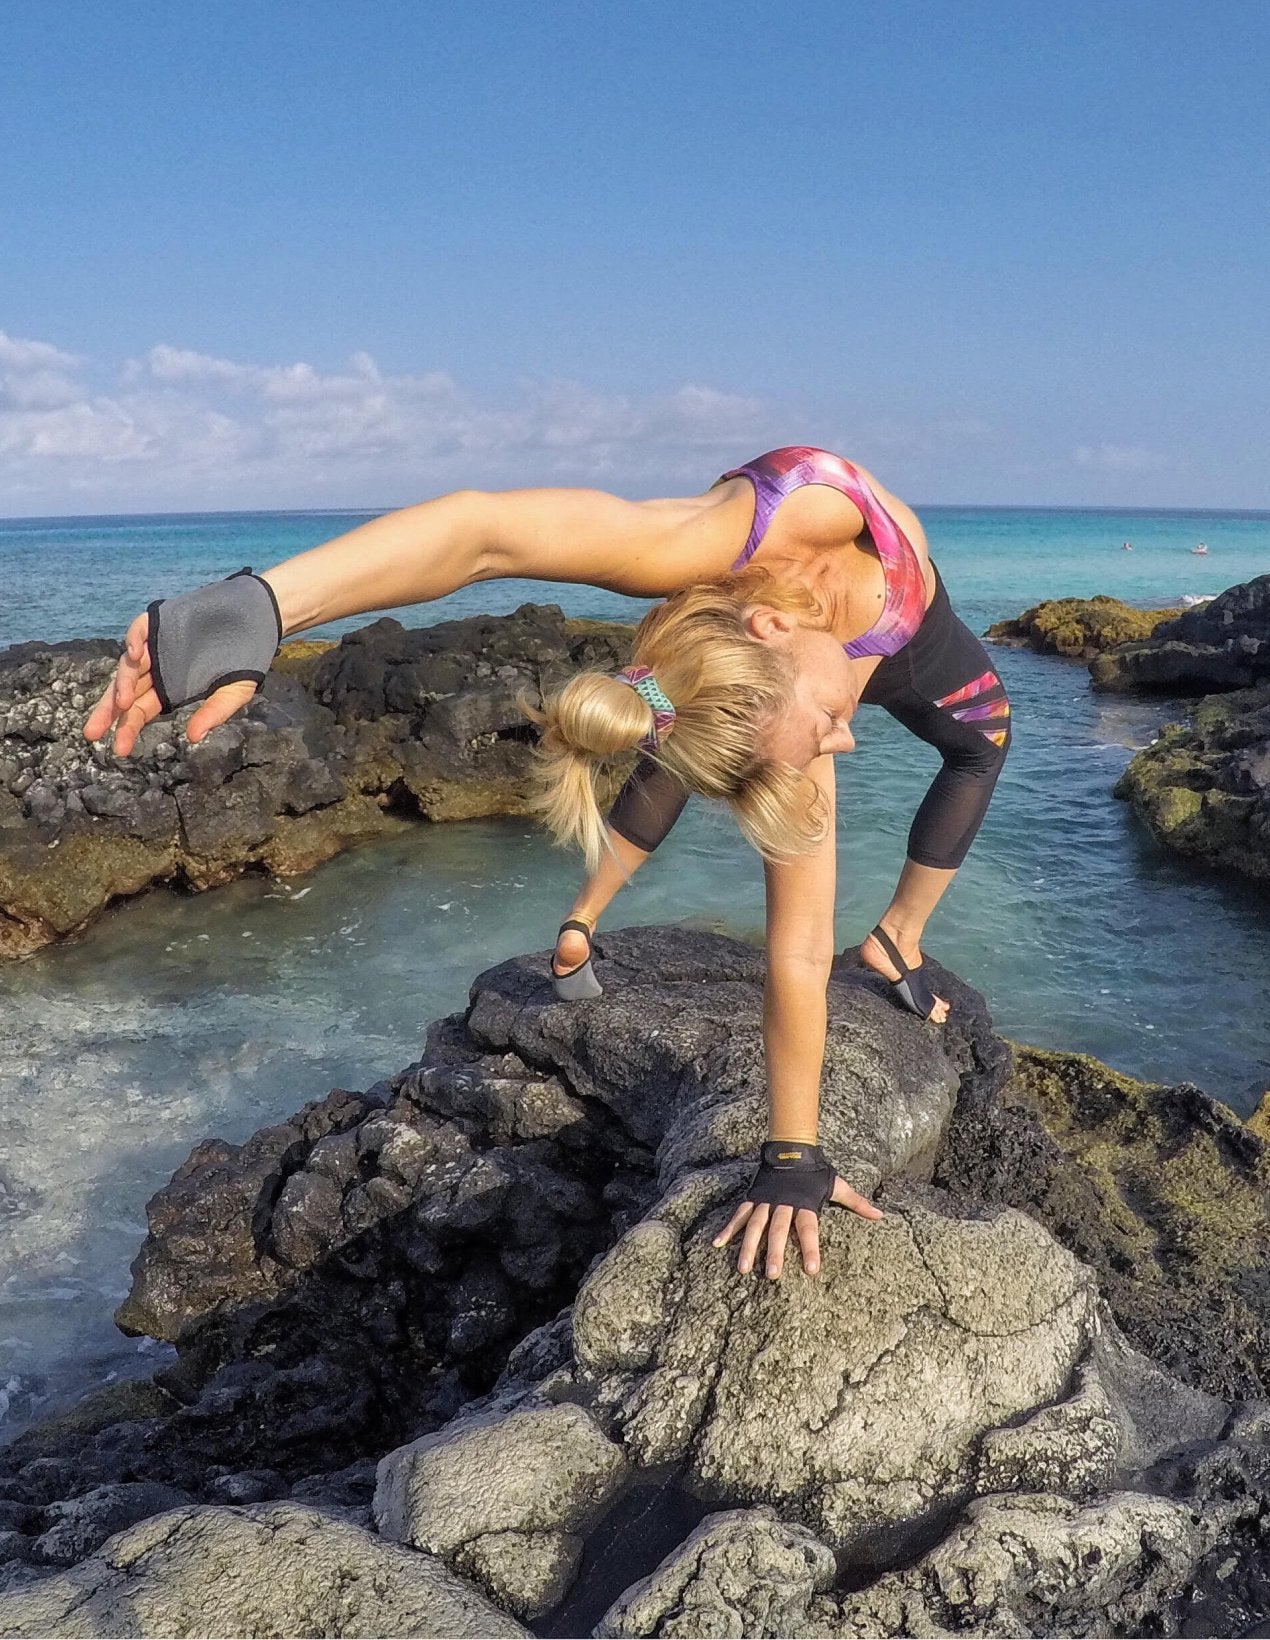
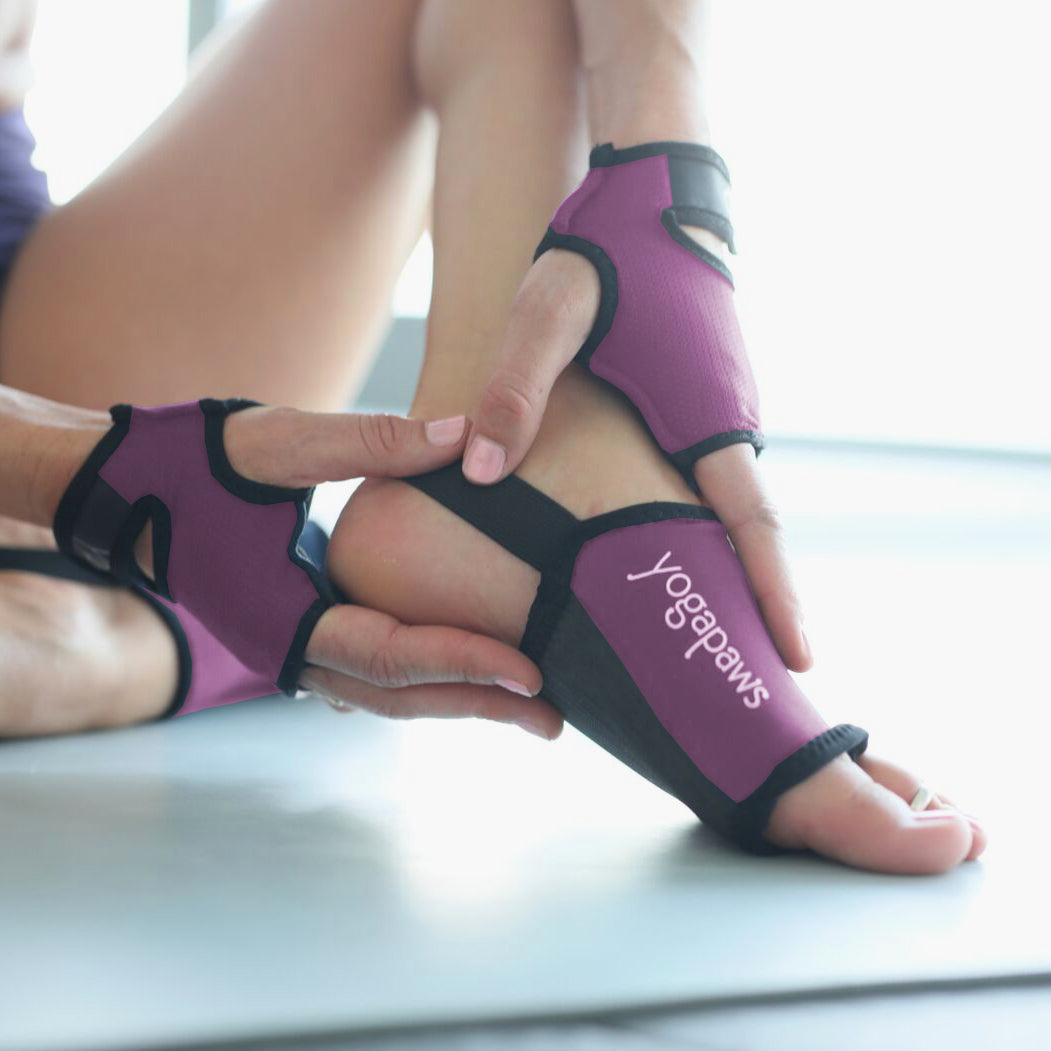
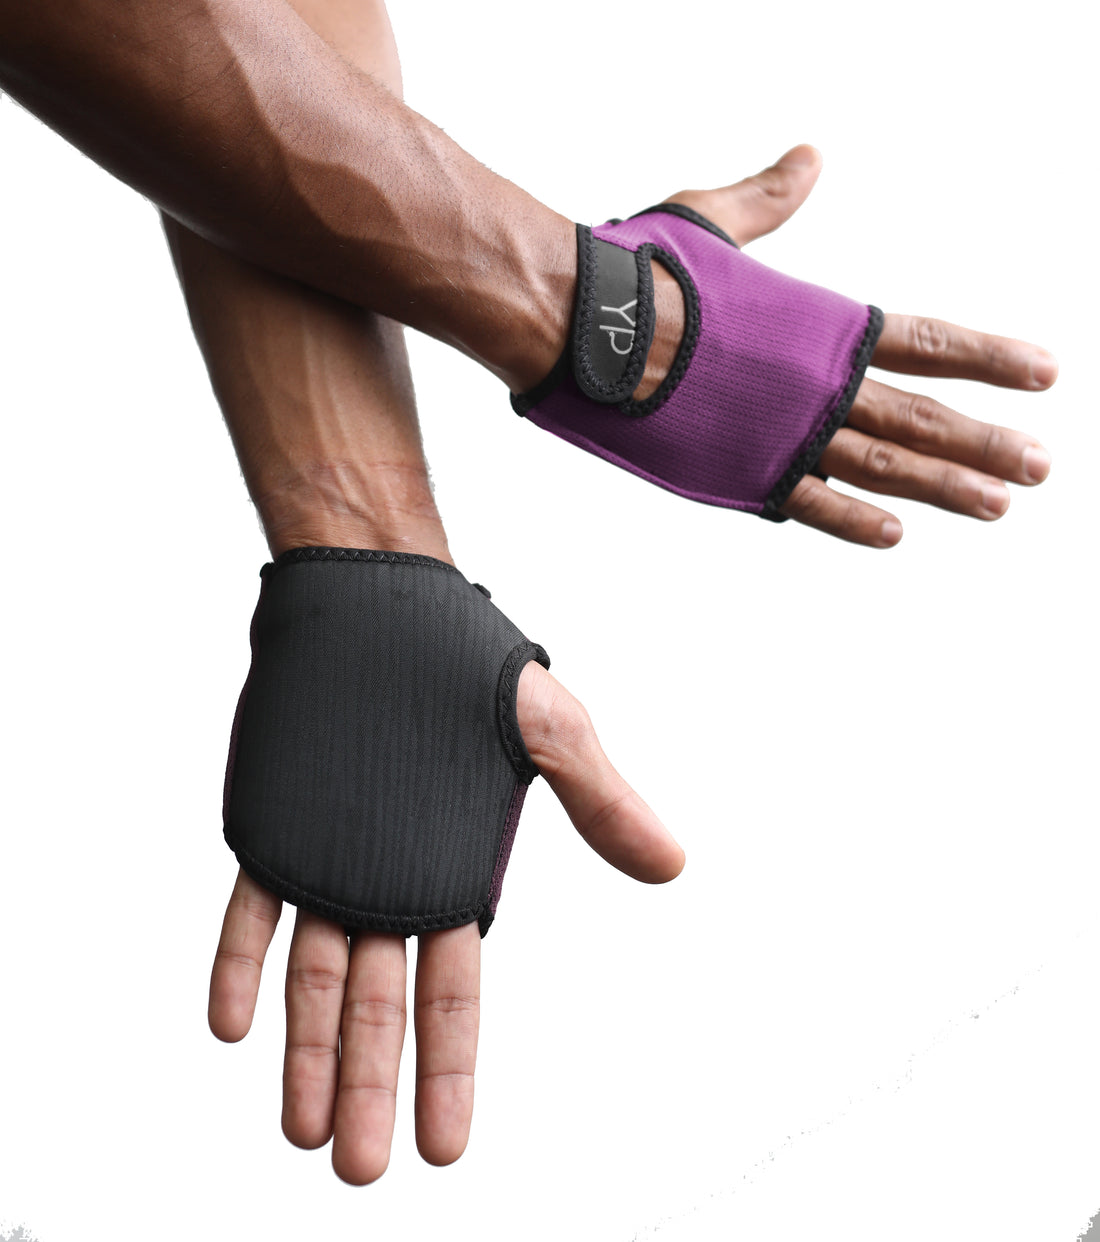
Vasisthasana (Side Plank Pose) Benefits: This pose allows you to learn about your balance as you move through its various stages. How to do it: Start in Adho Mukha Svanasana (Downward-Facing Dog Pose). Shift your weight onto the outside of your left foot and bring your right foot on top of your left. If you are just beginning this pose, it might be easier to place your right foot on the floor behind your left. Lift your right hand off the floor and turn your body so that your torso faces the wall and you are balanced on your left hand and foot. If it’s available to you, bend your right leg in and reach for your right toes. Extend your right leg. Remain here for 15 to 30 seconds before releasing and repeating on the other side. YogaPaws make give great padding for your wrist if you feel discomfort in this pose. |
 |
Paripurna Navasana (Full Boat Pose) Benefits: This poses teaches you how to find the fulcrum of the lever that is your body. How to do it: Sit on your mat with your legs straight in front of you. Keeping your back long, lean back slightly. Put your hands on the mat an inch or two behind your hips. Bend your knees and lift your legs to a 45-degree angle. Straighten your knees if you can. Lift your arms off your mat and stretch them in front of you. Hold this pose for 15 to 20 seconds, working up to a minute, then release. |
 |
Supta Baddha Konasana (Reclining Bound Angle Pose) Benefits: This relaxing pose gives you the chance to explore tightness and looseness in your body. How to do it: Begin in Baddha Konasana (Bound Angle Pose). Exhale and come back onto your elbows before letting your back meet the floor. Use your hands to gently open your hips. If needed, place blankets or folded mats under your knees. Bring your arms straight, palms up, and place them at a 45-degree angle to your legs. Focus on the feeling of opening in your inner thighs and hips. Don’t think about your knees opening, which can actually tighten your hips in this pose. Remain in the pose for one minute, then use your hands to put your knees together, roll onto your side and come to a seated position. |
 |
Upavistha Konasana (Wide-Angle Seated Forward Bend) Benefits: This stretch lets you test the limits of your flexibility and feel your progress. How to do it: Begin in Dandasana (Staff Pose). Lean back and open your legs to a 90-degree angle. Place your hands in front of your hips and open your legs slightly wider. Press your legs into the floor and focus on keeping your toes up and not letting your thighs turn in. Without arching your back, walk your hands forward as far as you can without rounding your back. Deepen the pose on an exhale. Stay in the pose for one minute, then release. |


Remember, as you practice, that any pose can be part of your journey of learning. Focus on the messages your body is sending—tightness, looseness, ease or discomfort. Decide what’s something you should work through and where your limits are.