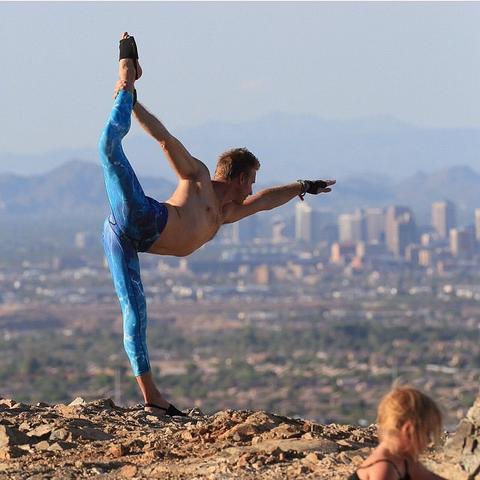
 Taking your yoga practice to the next level is about more than striking a pose. Grounding one hand on your mat while your body floats effortlessly would probably launch a waterfall of endorphins that would keep you feeling great for quite a while. But asanas don’t just “happen.”
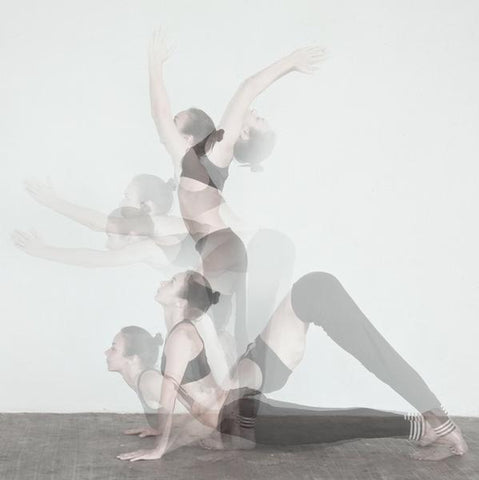
Getting into any pose—from beginner to advanced—requires the right setup. The transitions that help you flow from one asana to the next may not be as glamorous as the pose itself, but they are the foundations of a practice that can continue to expand safely and confidently. Understanding the correct way to shift your weight or adjust your feet ensures that you’ll be able to enter into the next position with proper alignment and balance. And, with a body that’s already positioned in the right physical plane to start a twist, forearm balance, or backbend, you’re set up for success since nothing is compressed or blocked.
The next time you roll out your yoga mat or grab your Paws, set an intention to focus as much on doing the transitions as doing the poses. Both are part of the dance that is yoga, stretching, strengthening and bringing balance and awareness to every part of your body, mind, and spirit. Try to avoid anticipating which asanas are to come or which new ones the teacher might introduce. Instead, use your efforts to maximize the effectiveness of transitions as a means of learning to think only in the moment.
Erase the message that transitions are a means to end; they’re a goal in themselves. Here are some reasons why. For many yoga practitioners, the major benefit centers on injury prevention. If you’re out of alignment, off-center or using the wrong muscles as you attempt poses, there’s a greater risk that you’ll fall or pull (or tear) a muscle. Just jamming your toe as you jump back from Uttanasana (Standing Forward Bend) to Chaturanga (Four-limbed Staff Pose) can sideline you for a few weeks.
Transitions can also play an important role in creating a stronger, more supple body and helping you achieve more advanced poses. Think about all of the good things that happen when you roll over your toes—thereby gaining flexibility in your feet and ankles; how much you can build freedom in your hips by correctly shifting from Virabhadrasana I (Warrior 1) to Virabhadrasana III (Warrior III) or how quickly you master Bakasana (Crow Pose) when you start to understand the importance of moving forward with your body rather than just trying to pull up your legs.
|
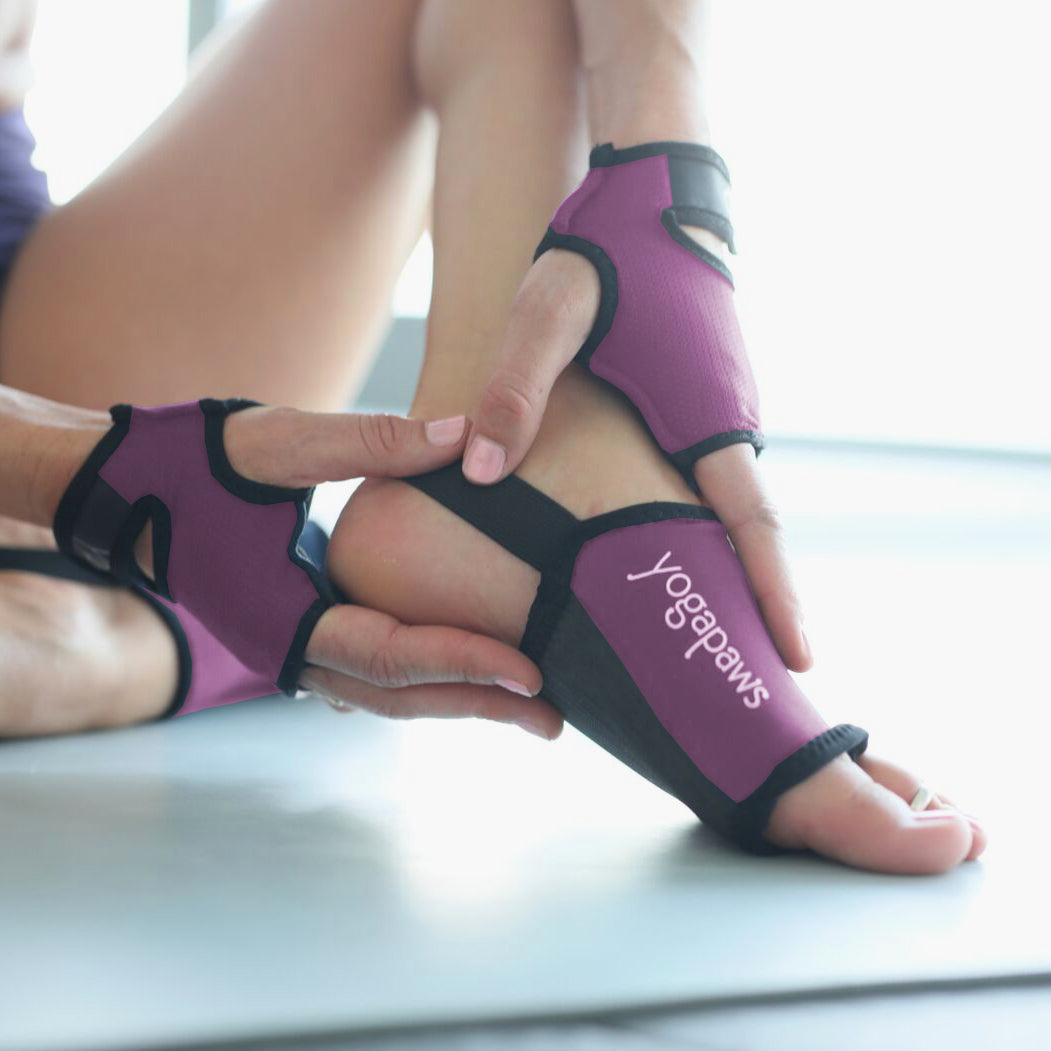
That Feel Good Toe Roll! |
Warrior I to Warrior III |
Mastering the Crow Pose |
Although transitions will differ depending on the poses they’re linking, there are some basics you can apply as you flow. The most important: slow down. Feel which muscles are engaging. Check in to make sure your core is among them since so many poses are dependent upon having a strong center. Concentrate on stabilizing poses. In many instances, momentum can undermine your practice or cause injury. If you’re having trouble balancing in Virabhadrasana III (Warrior III), it may be because you have too much momentum as your weight shifts forward. Also, enjoy the exhale. Transitions frequently involve contractions, which give you the chance to breathe out and reset. This can be especially important if there’s a pose you’re anxious about trying or if you’re revving up your heart rate in a vigorous flow.
Here are some tips for smoother, safer transitions:
- If rolling up from Uttanasana is challenging, take a slight bend in your knees to release any tension in your back body or simply place your hands on your thighs.
-
To create a smooth transition from Adho Mukha Svanasana (Downward-Facing Dog) to Kumbhakasana (Plank Pose), focus on using your core muscles to move your body forward until your shoulders are aligned over your wrists. Resist the temptation to push yourself forward with your toes. Once in Plank, check that your spine is elongated and that your shoulders are no lower than 90 degrees and that they are square.
- To master the move from Utthita Parsvakonasana (Extended Side Angle Pose) to Ardha Chandrasana (Half Moon Pose), start in Extended Side Angle Pose with your left leg in front. Bend that knee bent at a 90-degree angle while stepping your right leg back. The left knee should be behind the toes. Place your left hand on the floor outside of your left foot on the floor or a block and look down to make sure the knee is straight, not rotating inward. Your right arm should be extended over your right ear and angled toward the ceiling. Shift your weight onto your left hand and leg. Test your balance by lifting your back toes off the ground slightly. If it feels weightless and you feel stable, begin to straighten your left leg and reach your right arm to the ceiling. Here’s where slow motion is really important. Entering this pose without momentum enables you to control each part of the movement rather than trying to counteract the force of swinging your legs and/or arms.
Once you’ve learned to love transitions, you might consider taking a vinyasa flow class or checking out online flows that emphasize continuous movement. Concentrate on coordinating each movement with your breath, using the inhales and exhales to fully realize each extension and contraction. With this approach, every move you make will deepen your practice and free you up to dance to your own drummer.
Thanks for reading! Feel free to take 10% off your next order with code: PAWBLOG